Free USA Shipping on all orders $99+ 

0

Your Cart is Empty

My First Time with the Green Chile Motorcycle Luggage System

November 13, 2016 3 min read

First Time Rigging GCAG

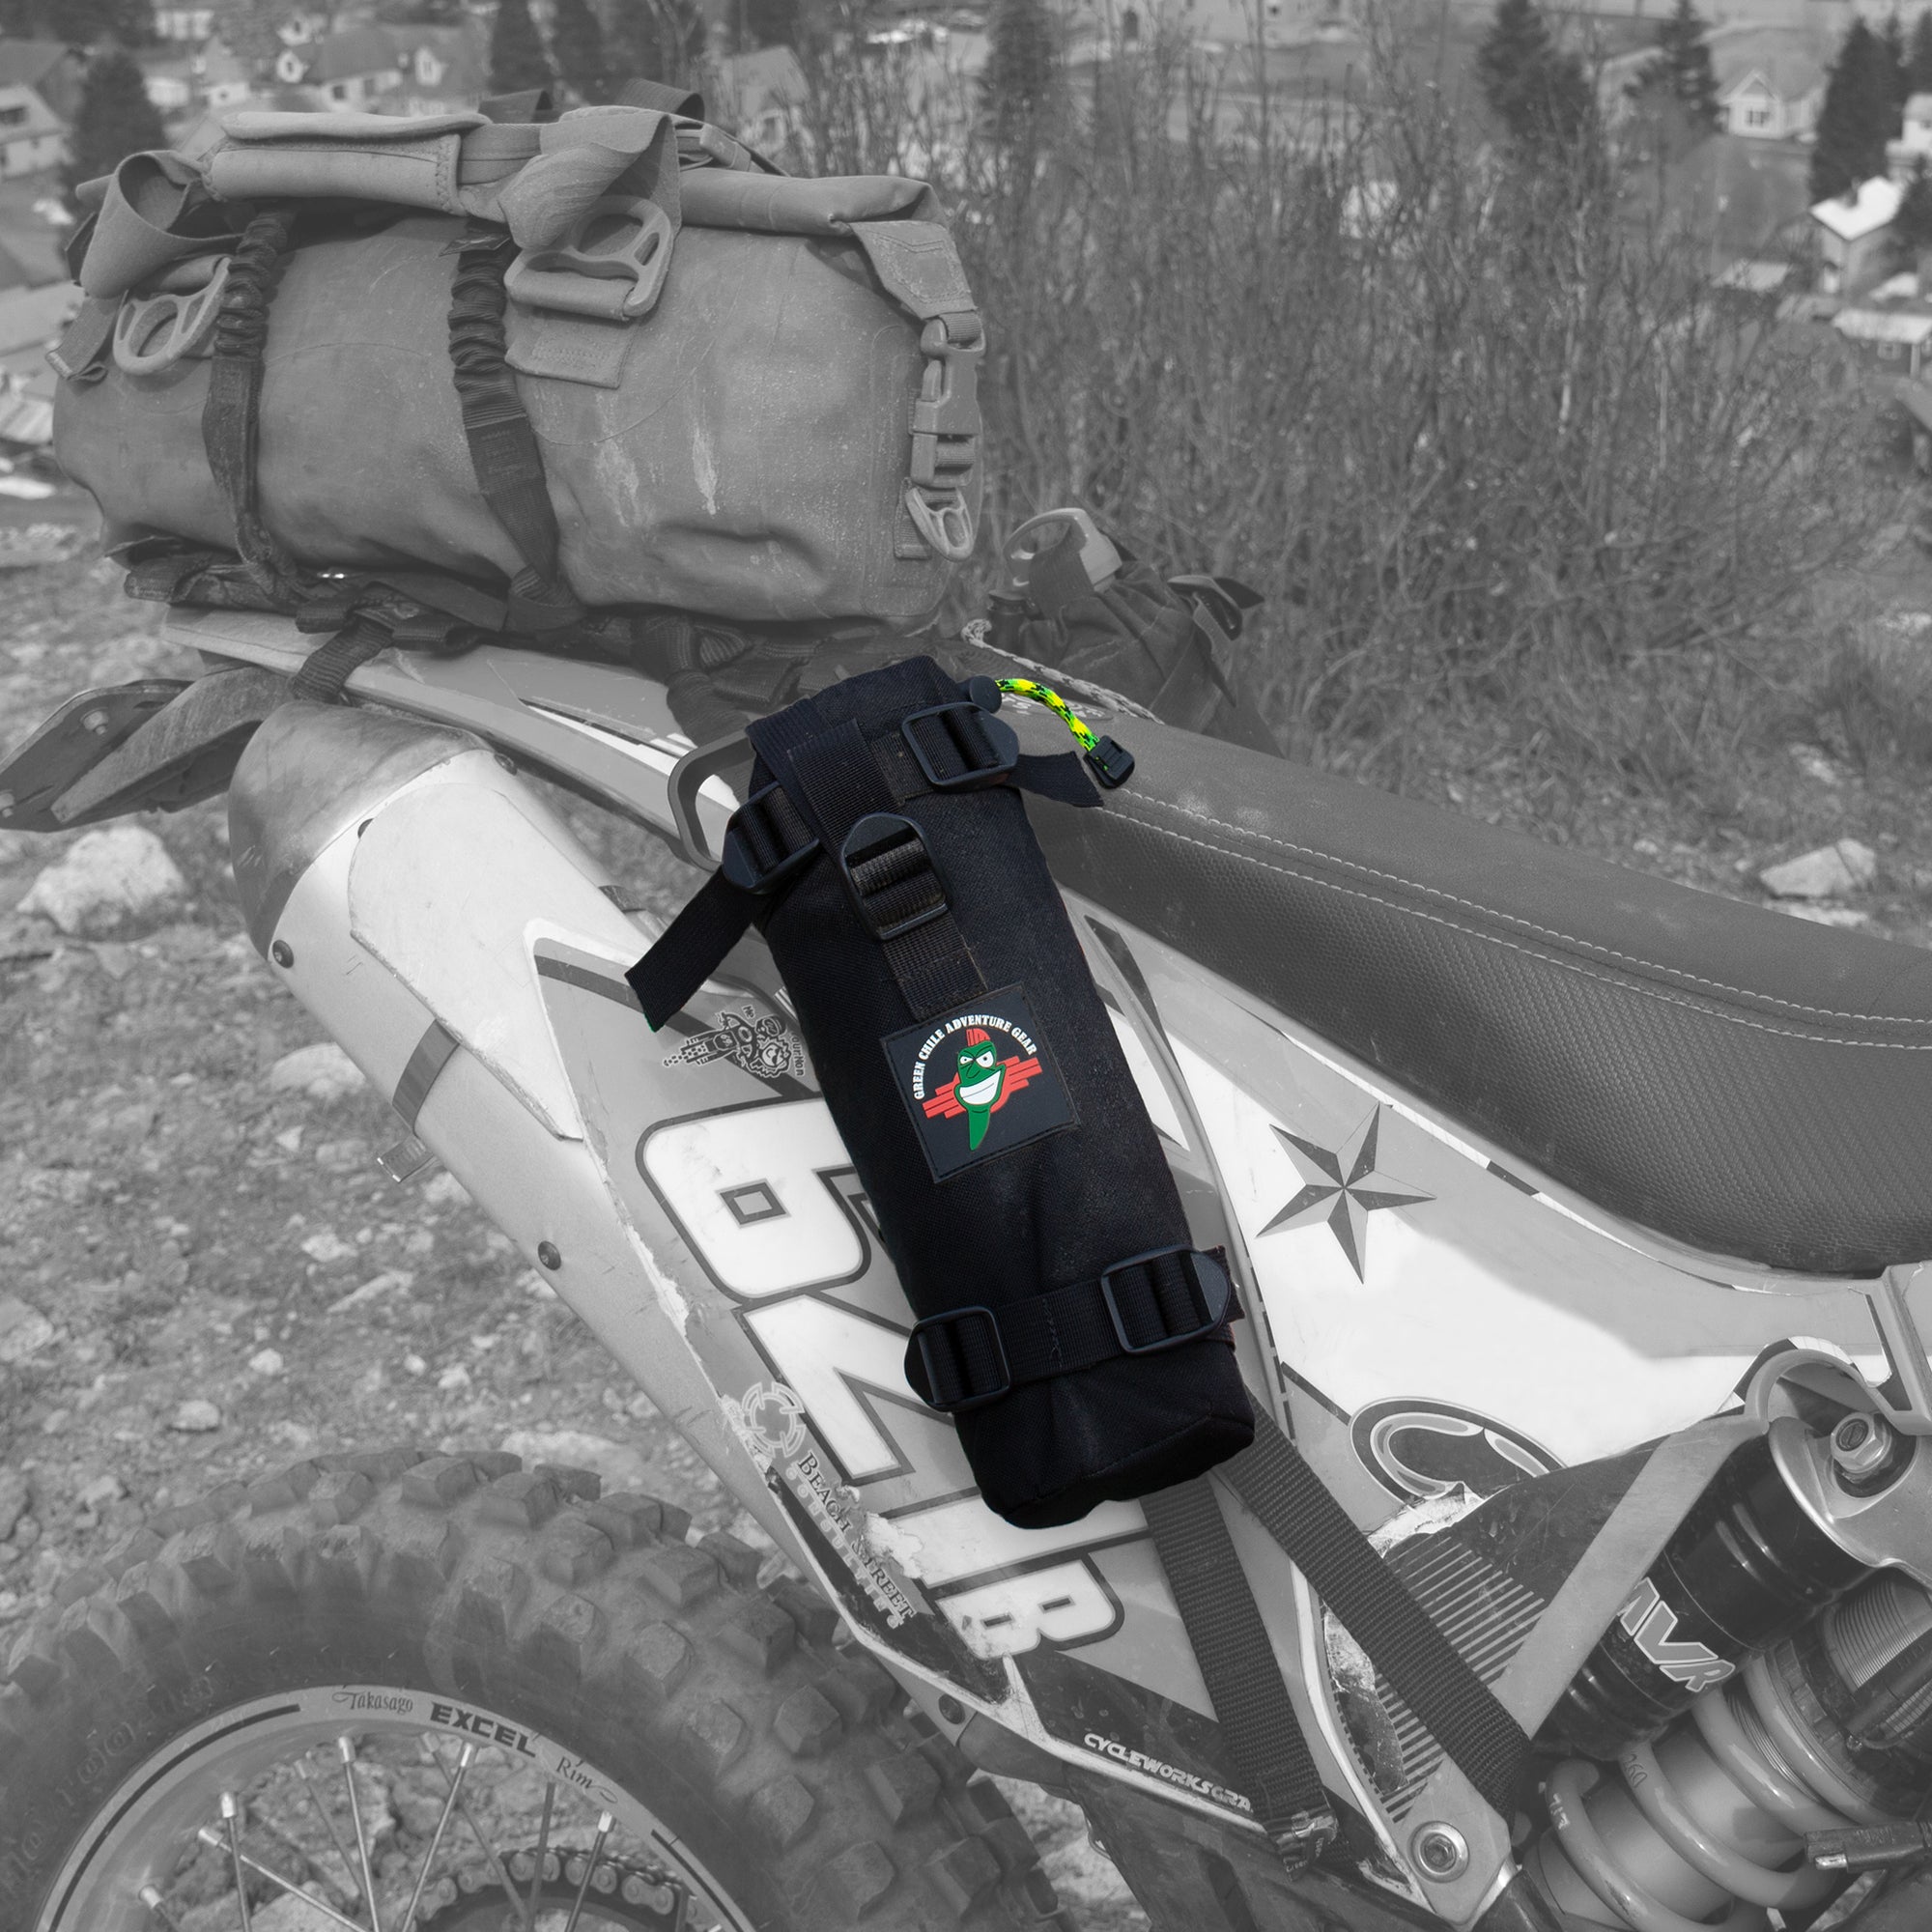
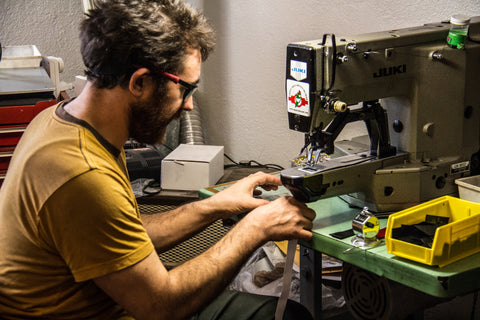
I finally got to play around with our Green Chile gear today. Ben has been designing it and I have been offering ideas into the mix where I could. I'll be honest, it was hard to think of something Ben wasn't already working on.

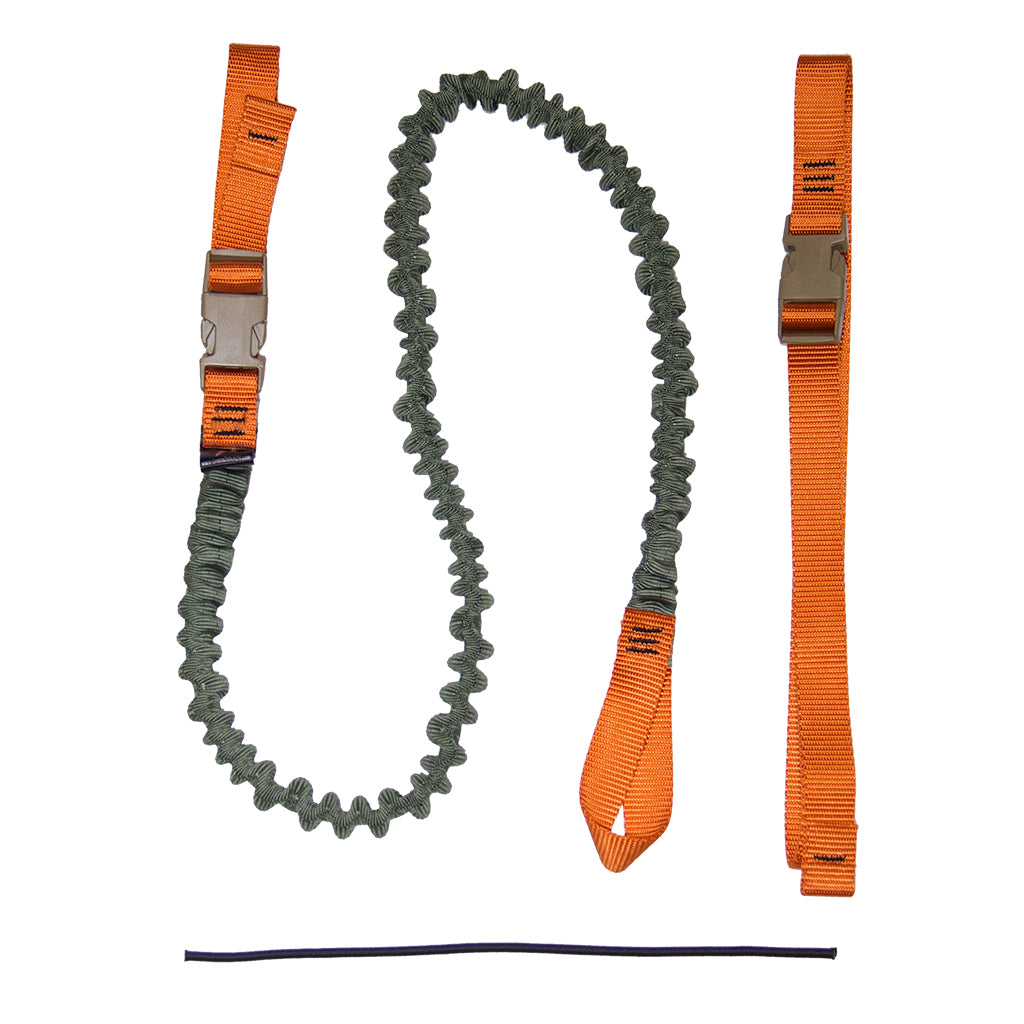
Since we have had a good volume of orders so far all the production version parts have been shipping to customers so my kit was delayed. I currently have a mix of prototype and production versions of the products. Since I had a mix it was a lot of fun using the prototypes and realizing why the production versions were different. It was  like getting a new product and wishing it were tweaked, and then you magically have the tweaked version in your hands!

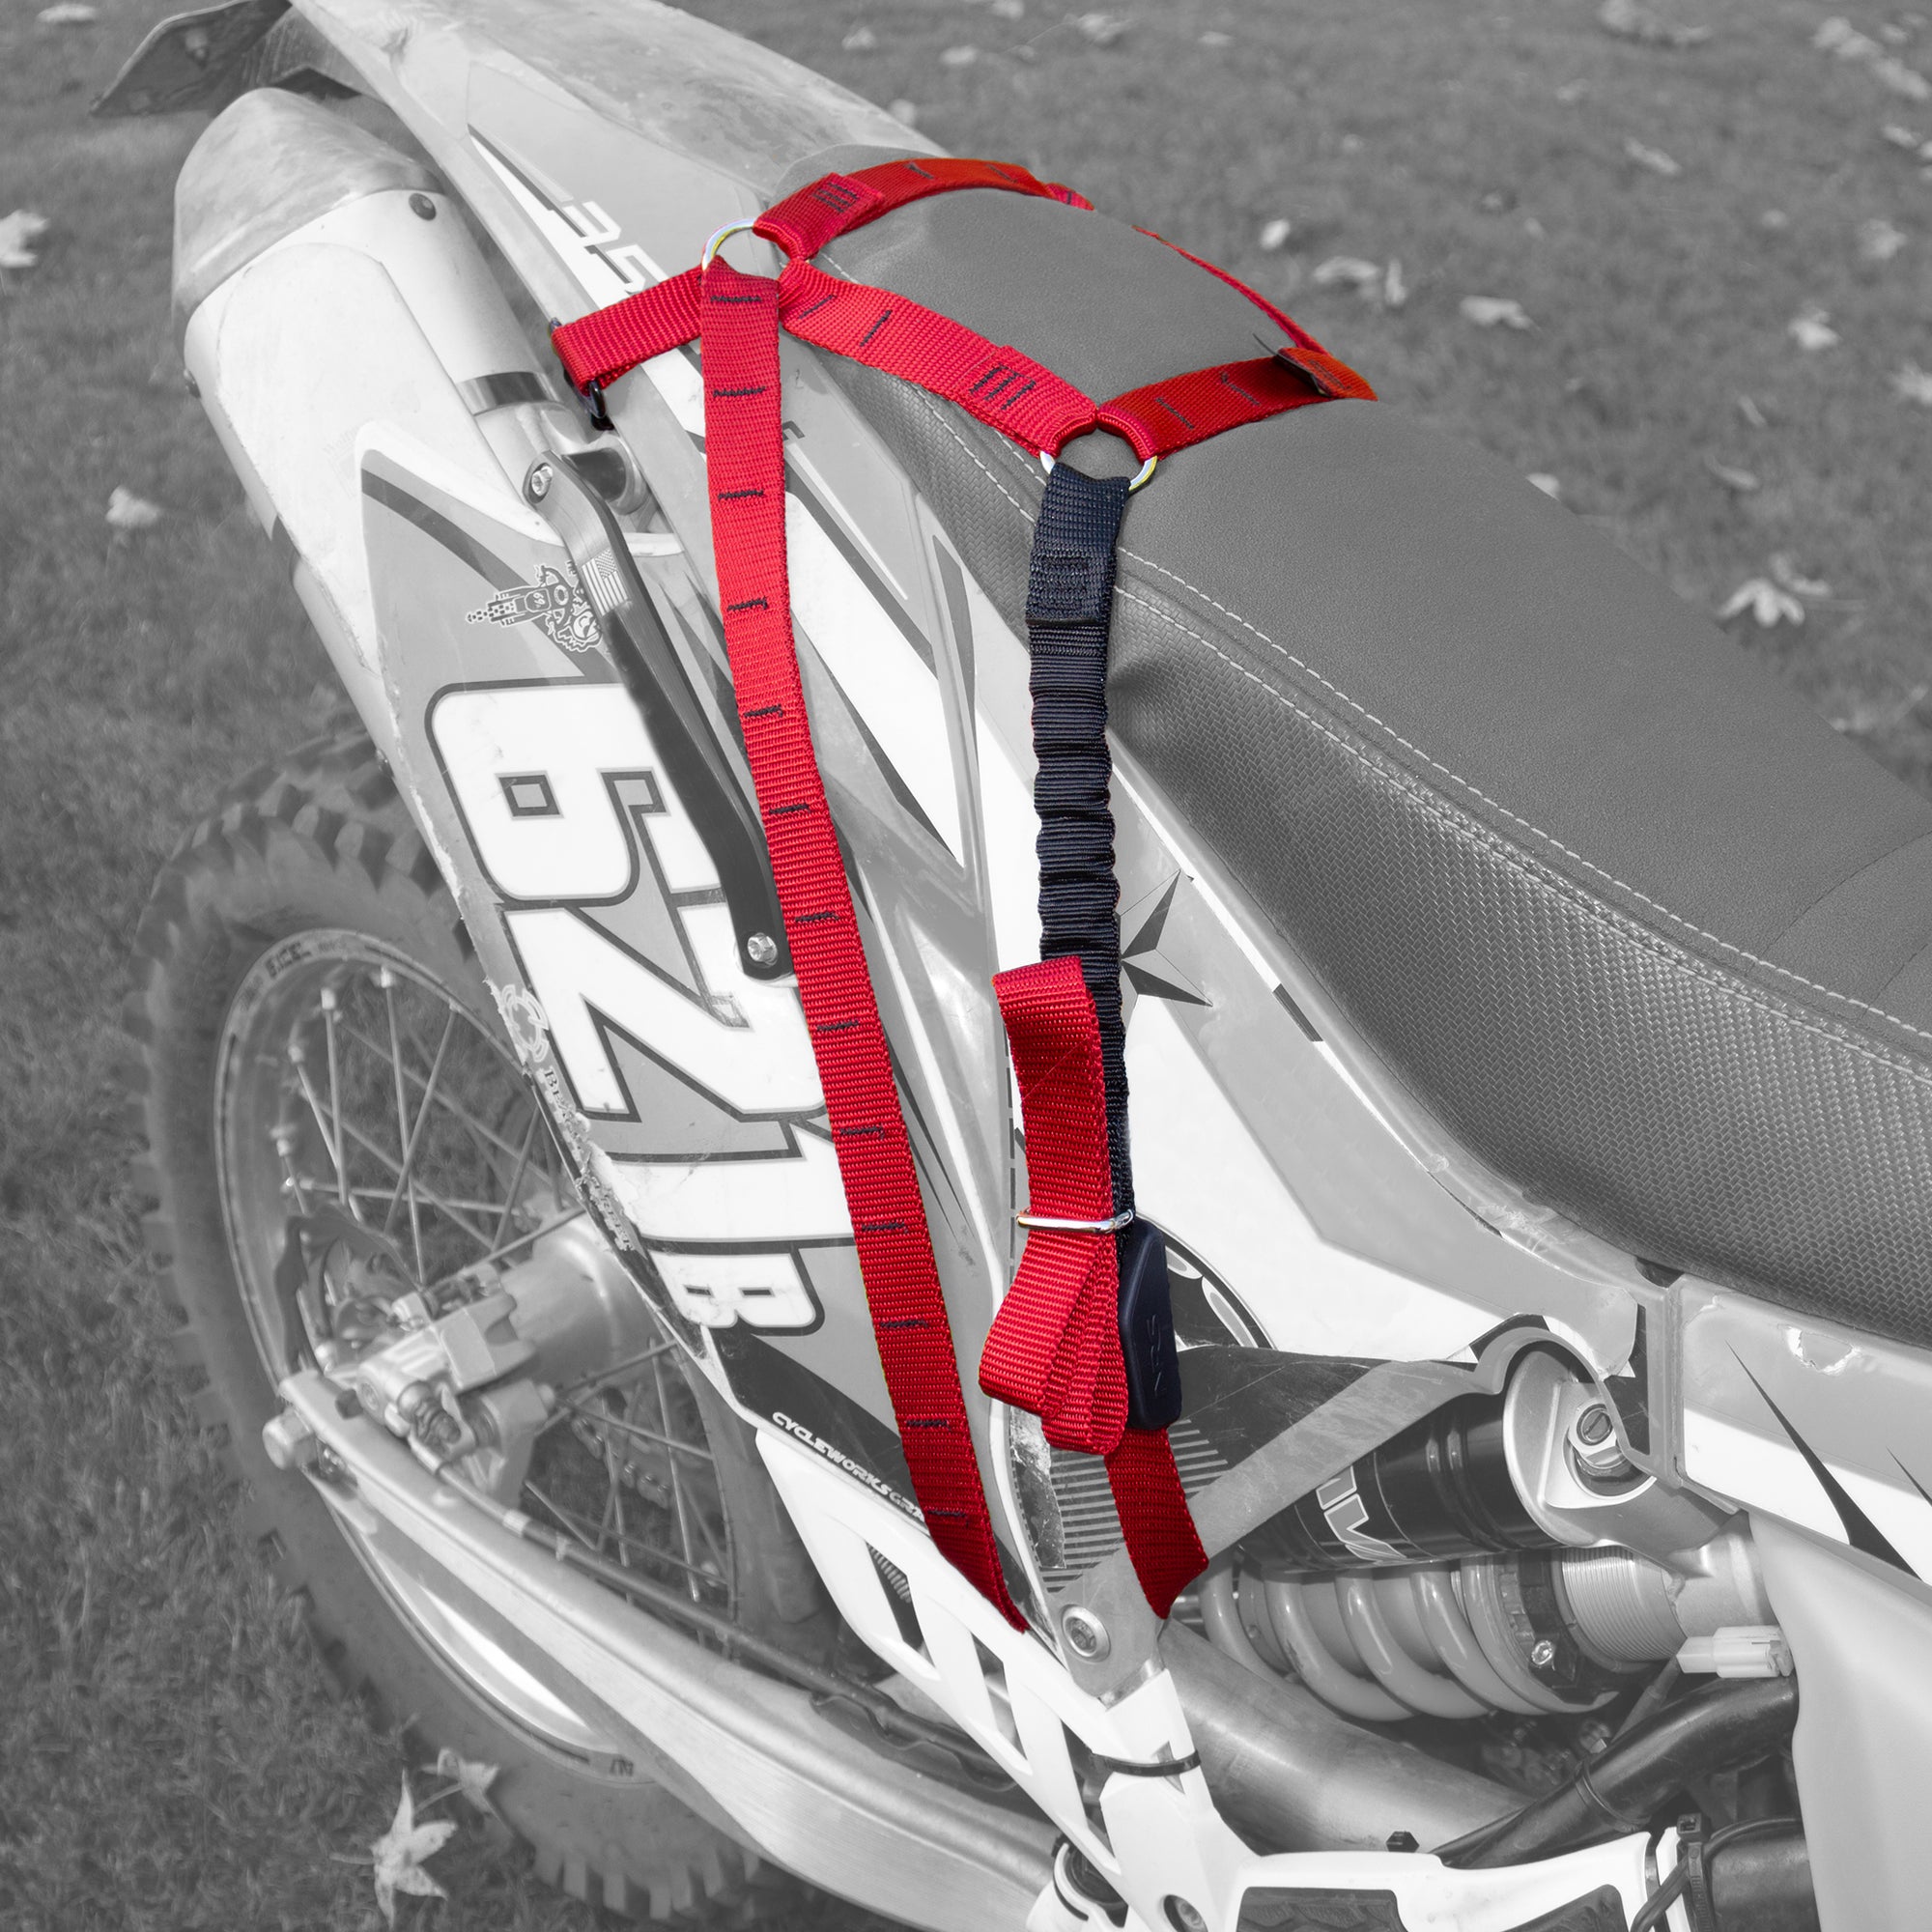
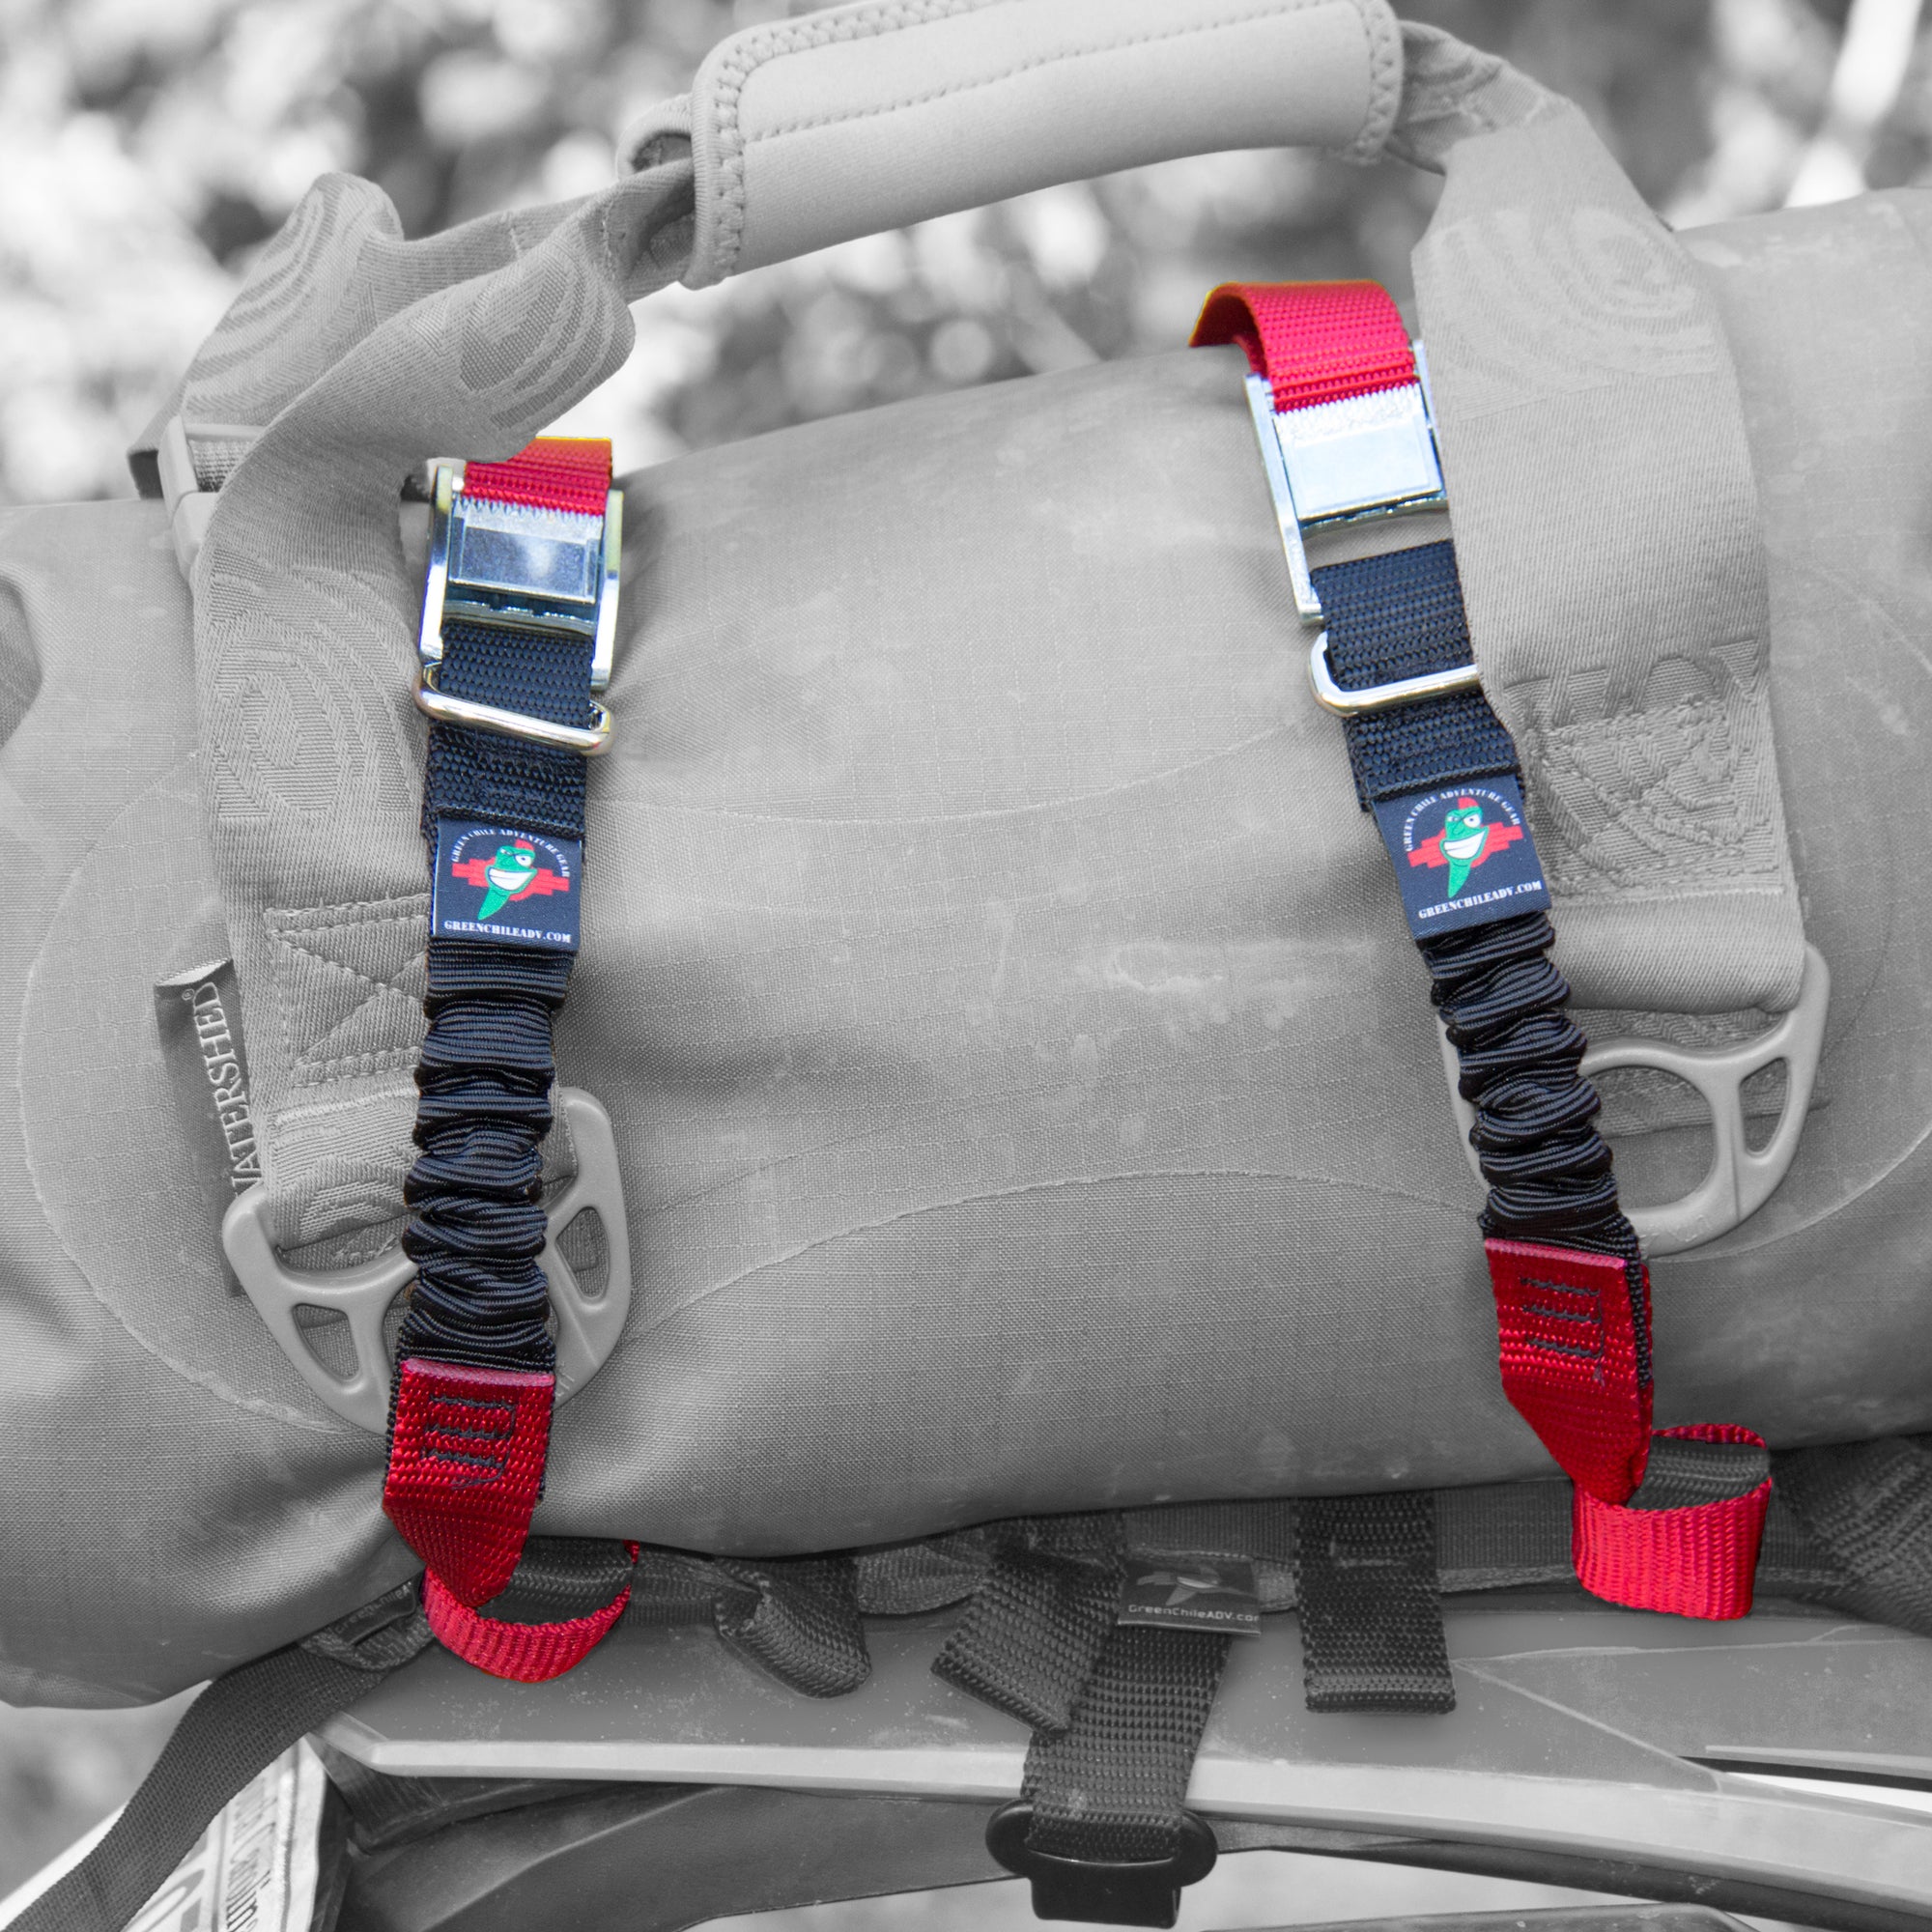
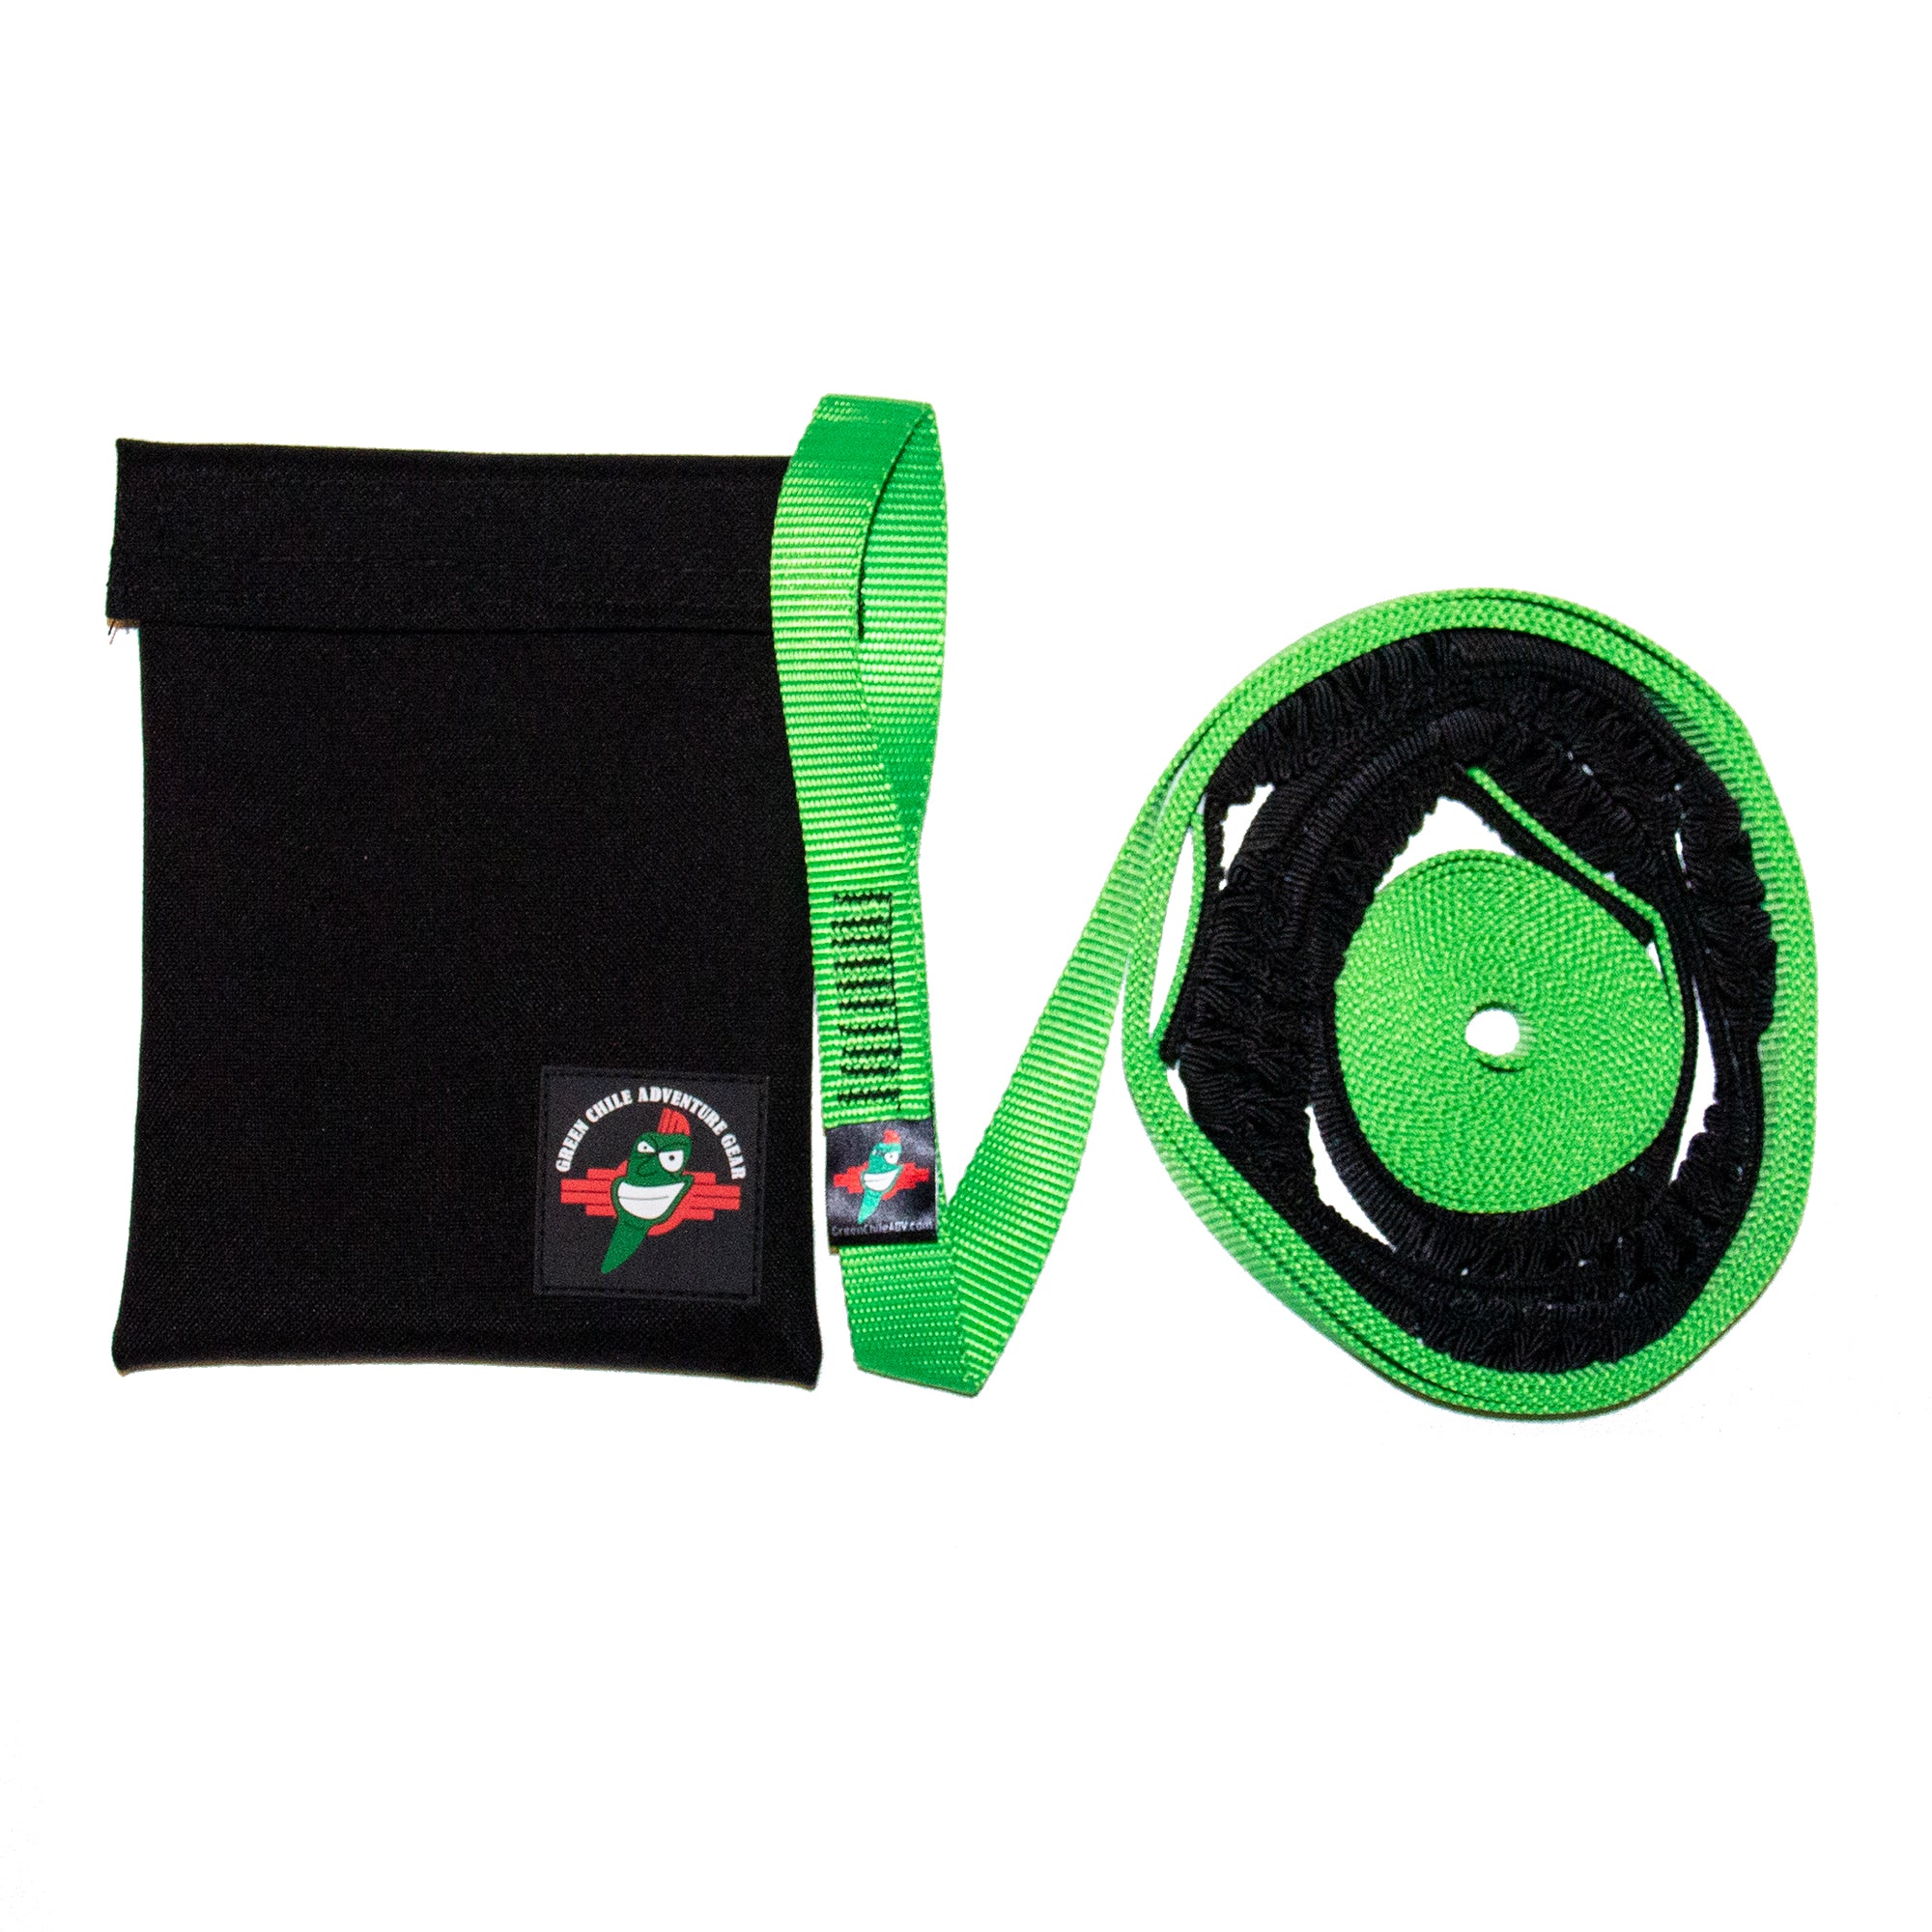
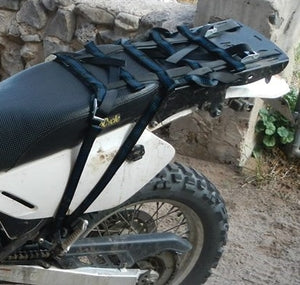
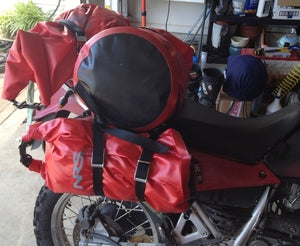
Ben is experienced in rigging and working with gear like this. Much of this is brand new to me and I am really enjoying the learning process. It is important to point out that the Green Chile gear may take a bit of practice. You see, there are no rules on configuration. We have built kits and offered some suggestions, but I quickly found that there is a million ways to use all the different parts for a custom configuration. I learned a few things from Ben and from playing around with the Green Chile luggage gear.

Here's Some Tips:

  • When placing your tensioner straps for the top bags, mount the front one to the side straps of the soft rack. This will pull the bag into the bike and your luggage will be rock solid. I mean move your bag and the bike moves with it kind of solid.
  • When installing the soft rack, experiment with running the top of the rack side straps through various combinations of the loops on the side of the soft rack base. This will be different for each bike. The main idea is to keep your straps from the hot exhaust and to provide a wider mount if needed for side bags.
  • When you install the side straps for the soft rack adjust them so that the loops are to the outside and accessible.
  • If you are using large top bags like my 38 liter NRS dry bags you may need to mount your side bags horizontally to make them fit.
  • If you are doing a three bag configuration, make your side bags vertical and mount them high. Use your tensioner cams towards the middle of the rack on the top. This will pull the bags towards the middle of the bike and make a solid mount.
  • For a three bag configuration you can also use one of our ADV Sushi to connect them at the top so you can drape them over the bike while you are mounting them. For top load dry bags you can just attach the bags together at the top with their own clips.
  • When you are using cam tensioners always try to orient the top of the buckle to the front of the bike. This will keep the button on the top accessible when you need to remove the bags.
  • Use the built in rectangular rings to help manage slack. You can also run the slack back across the cam buckles and through the hole to get the slack under the webbing.

I will try to share more tips with you as I use the Green Chile gear. My closing advice for all the gear that Green Chile sells is to realize that all of these pieces are modular. Think of this gear as building blocks for your custom luggage solution. There are unlimited configuration combinations and we want you to find what works best for your situation. Experiment, and please, please, please share with us how you use your Green Chile Adventure Gear products.

Adam Owens
Adam Owens


Also in Experience

Behind The Scenes - Green Chile Adventure Gear Shop

November 13, 2016 1 min read

Read More
How Does The Green Chile Luggage System Work?

November 13, 2016 3 min read

Uprising Soft rack
Read More
Our SPICY Design Principle

November 13, 2016 1 min read

GCAG Made In USA
Read More

Are you a Green Chile Insider?